REVIEW · MOAB
Canyonlands National Park Half-Day Tour from Moab
Book on Viator →Operated by NAVTEC Expeditions · Bookable on Viator
Canyonlands changes when you ride it by 4×4. On this half-day tour from Moab, I like the professional 4WD driving on Shafer Trail and the Pueblo rock art stops that turn big scenery into something you can actually understand. You get big overlooks, tight canyon roads, and a guide who explains what you’re looking at as you go.
Two more things I’m glad you don’t have to figure out on your own: the route is built around the best view-pullouts (including Gooseneck Overlook and Musselman Arch), and you’ll still have time for photo walks without spending the whole day stuck in a car. It also runs on different start times, so you can pick the morning, afternoon, or sunset light.
One consideration: this is rough-road driving. The ride can be bumpy and a bit noisy, and the off-road feel might be a lot if you’re sensitive to heights or comfort issues in the vehicle.
In This Review
- Key highlights
- Island in the Sky and White Rim Road: the reason this tour works
- The drive starts with Potash Road and Moab rock art
- Island in the Sky: mesa views, then the switchbacks
- Gooseneck Overlook and Thelma and Louise Point: the photo stops you remember
- Musselman Arch: a short walk with a big pay-off
- Learning the geology and Pueblo story while you ride
- Comfort, safety, and what to pack for a rough-road half-day
- Timing and value: why $196.96 can make sense here
- Should you book the Moab Canyonlands 4WD half-day?
- FAQ
- How long is the Canyonlands half-day tour from Moab?
- Where does the tour start and end?
- Is pickup available?
- Are Canyonlands National Park entrance fees included?
- What stops are included during the tour?
- What hike is involved at Musselman Arch?
- What should I bring, and is food included?
Key highlights
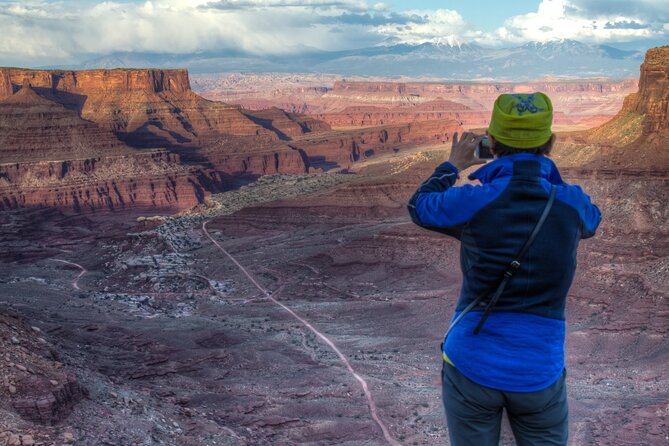
- Shafer Trail switchbacks with a steep climb to the Island in the Sky mesa
- Gooseneck Overlook views made for photos and short lookout time
- Musselman Arch with a short ~300 ft stroll
- Rock art stops on Scenic Byway 279 with admission included
- White Rim Road riding on rugged 4WD terrain where many visitors never go
- Small-group feel with a max of 20 travelers and a 4-hour format
Island in the Sky and White Rim Road: the reason this tour works
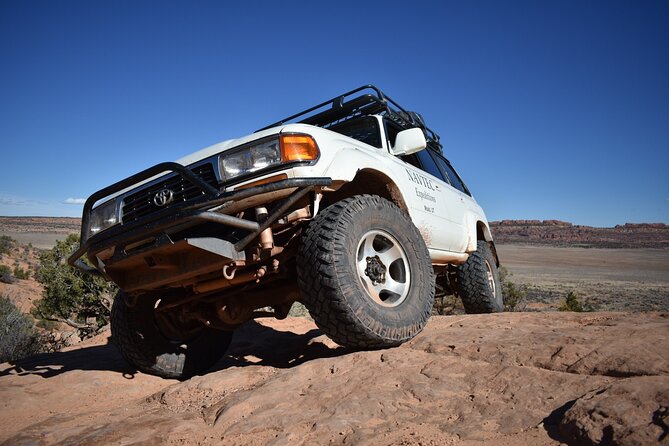
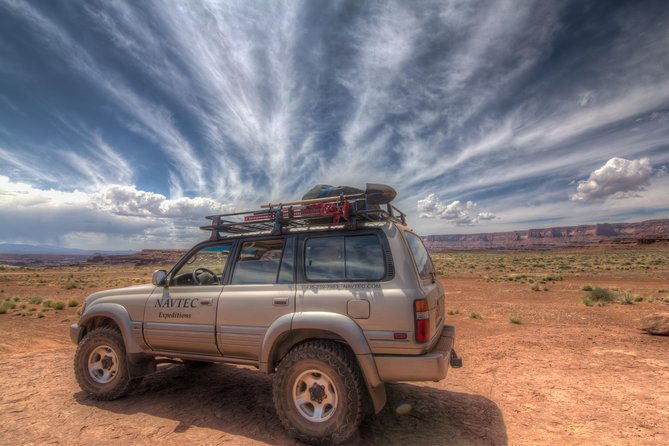
If Canyonlands is on your list, this is one of the more efficient ways to see it without wrestling with narrow, technical roads. You’re starting in Moab, then heading out for a half-day loop through the Island in the Sky district and the 4WD roads that make Canyonlands feel remote fast.
The big win is that you’re not just looking at canyon country from a safe roadside pullout. You’re riding parts of the White Rim Road Loop and dealing with the kind of switchbacks that, frankly, most rental-car drivers shouldn’t attempt. The guide handles the driving, you focus on the views and the photo angles.
You’ll also get an “I didn’t know this was here” feeling. Canyonlands has plenty of famous overlooks, but the tour is set up to add stops that are less crowded and more about finding the good angles—especially down into canyon walls where the drop looks dramatic.
You can also read our reviews of more tours and experiences in Moab.
The drive starts with Potash Road and Moab rock art
Before you even reach Canyonlands, you make two quick stops tied to rock art in the Moab area. First, you’ll stop along Scenic Byway 279 at a petroglyph rock art site (with admission included). Then you’ll hit another Scenic Byway 279 rock art area with easy access to ancient drawings.
These pauses are short—about 15 minutes each—but they matter. When you only see red rock and empty space, it’s hard to picture people living here. The rock art stops add that missing human layer, and the guide’s context helps the marks on the canyon wall feel less random and more meaningful.
One practical note: these sites are outdoors, so plan for sun and strong desert light. Bring your camera, and if you like photos, take a second to look for the best angles before you rush for the next stop.
Island in the Sky: mesa views, then the switchbacks
Once you enter Canyonlands National Park, your route shifts from horizon views to canyon-focused viewpoints. You’ll spend around an hour at the Island in the Sky district, and you’ll also ride along the White Rim area from the 4WD roads.
You start with that classic mesa feeling—wide open edges, big distance, and that “how far does this go?” view. Then the tour turns toward the technical section: the switchbacks of Shafer Trail. This is where the ride stops being sightseeing and starts being an experience.
The Shafer Trail portion is described as an old cattle trail climb of about 1,000 feet (300 meters) up to the rim. That climb is the point. It’s steep, it’s narrow in places, and it gives you a new perspective on the canyon maze below.
If you’re the type who worries about motion or heights, this is the moment to decide how comfortable you’ll be. The ride is part of the deal here, and the payoff is that you’re seeing Canyonlands from the rim like you can’t get any other way.
Gooseneck Overlook and Thelma and Louise Point: the photo stops you remember
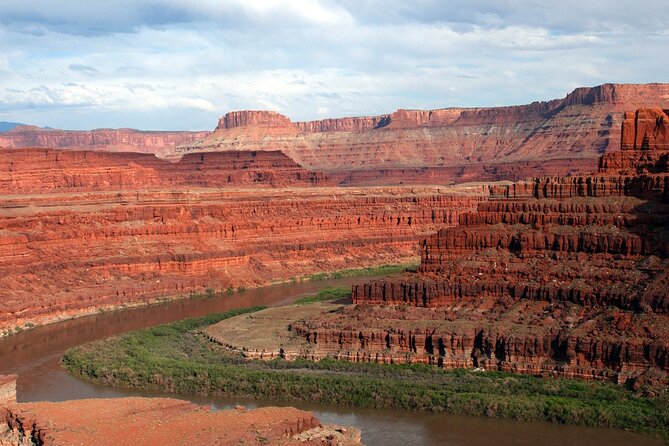
This tour is built around viewpoint timing. You’ll stop at Gooseneck Overlook, where the Colorado River’s curve turns into a visual headline. It’s the kind of view that makes you stop talking for a second, then immediately start comparing camera angles.
Another strong stop is Thelma and Louise Point. You’ll get the view from a place tied to that “you feel the scale” effect—canyon walls dropping away while the river threads through the scene. Even if you’ve seen Canyonlands photos online, being there and seeing depth in real time does something different.
The advantage of having a guide is you’re not guessing where to stop for the best light or where the crowds usually funnel. The guide also takes you to photo spots beyond the most obvious ones, which can mean fewer people in your frame and better chances for a clean shot.
For photo strategy: these are not sit-down museum stops. You’ll have brief windows to walk, shoot, and get back on the road. I’d treat each stop like a mini mission—arrive, take a sweep for your main composition, then do one or two closer looks if the route allows.
Musselman Arch: a short walk with a big pay-off
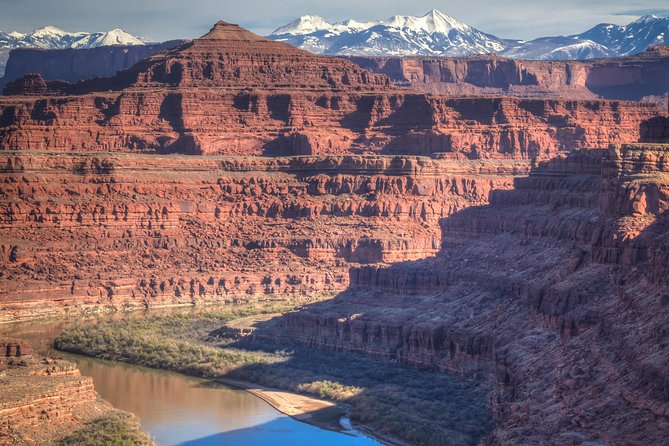
One of the most memorable pieces here is Musselman Arch. You follow the White Rim route to the bench area near the arch, then you take a short ~300 ft stroll to see the natural stone structure up close.
The time built in is about 30 minutes for this portion. That’s a sweet spot. Long enough to relax and enjoy the rock shape, short enough that you don’t lose your whole half-day to a hike.
A quick reality check: this walk is still on uneven terrain, and you’ll be outside in desert sun. Good footwear helps, and if you’re sensitive to heat, you’ll appreciate moving steadily rather than taking long stops.
What I like about this stop is how it breaks the tour’s pattern. You’ve been riding and staring at big canyon views. Then you get something more intimate—an arch you can frame with the rim and the canyon behind it. It’s one of those “okay, now I get why this matters” moments.
Learning the geology and Pueblo story while you ride
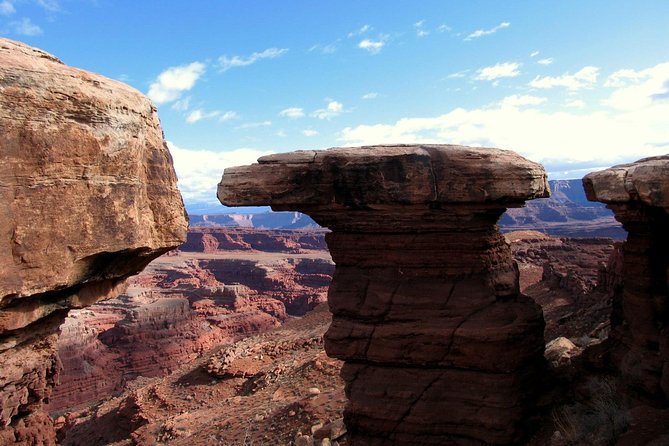
This tour has an educational backbone, but it isn’t schoolbook dull. As you make stops for views and short walks, the guide explains geology and the story of the Pueblo people who inhabited the Four Corners area.
That combination is what makes the scenery feel less like a random set of red cliffs. You start seeing the canyon as a layered timeline—how the rock got here, why the river shaped what you see, and how people left marks in places like the petroglyph sites.
The guide also helps with interpretation while you’re moving between locations. That’s key. Canyonlands is hard to process when you arrive and then leave quickly on your own. With a guide, the trip becomes a guided map of what to notice: rim edges, vertical drops, rock formations, and the reason certain overlooks are worth the detour.
From the names that show up often for this operation—Cody, Blaine, Adam, John, Warren, Annie, Hayden, Ben, Courtney, Mike, and Greg—you can also get a sense that the guide quality is a major part of the experience. If you want a trip where you ask questions and get good answers, this is a strong match.
Comfort, safety, and what to pack for a rough-road half-day
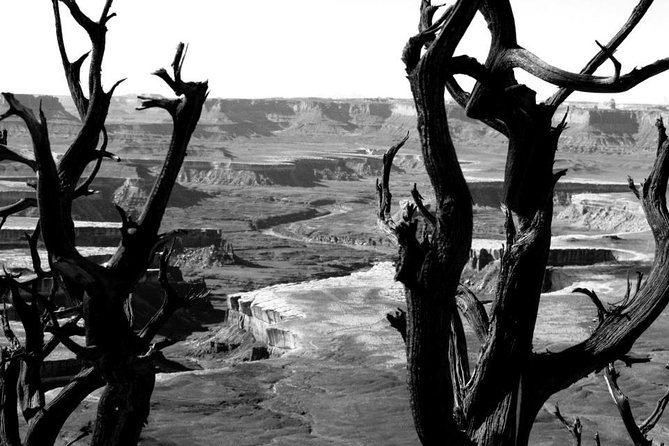
Let’s talk practical. This is a 4WD tour, and the roads include rough, narrow sections along cliffs. Expect dust, noise, and the kind of jolting ride that makes your brain focus on holding on.
Some people will love that. It’s fun, a little wild, and it feels like you’re actually earning the view. Others will want to be prepared for the physical side. If you’re worried about comfort, plan for that.
On the comfort side, you do get ice water included, and there’s extra water available for refills. That helps a lot in the desert heat. Still, I recommend bringing your own water bottle too, because you’ll feel calmer if you’re never halfway through a sip.
Bring:
- camera
- water bottle (and use the refills)
- sun protection
You’re also doing a lot of outdoor viewing in strong light. If you hate squinting, pack for it. Sunglasses and a hat are common sense, even if the listing only explicitly calls out sun protection.
And yes, there’s a family note: a car/booster seat is required for children 7 and under. If you’re traveling with kids, double-check what you have in the vehicle when you meet.
Timing and value: why $196.96 can make sense here
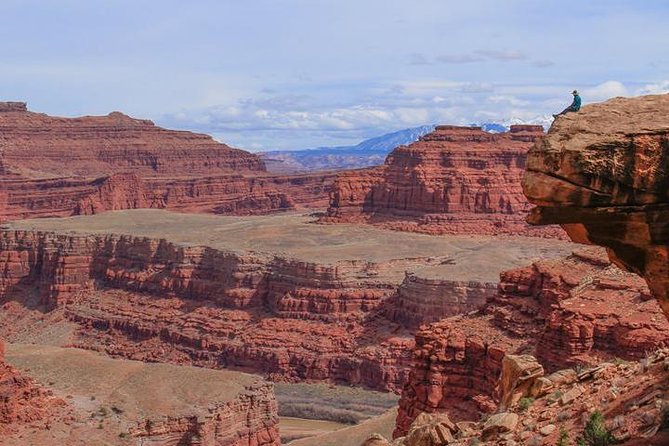
This tour costs $196.96 per person for a half-day (about 4 hours). That price sounds steep until you add up what you’re actually buying: authorized access to rough 4WD routes, a professional driver/guide, and the structured stops at rock art sites and canyon overlooks.
Also, park fees are the main extra. The listing says National Park Entrance Fees are not included—about $15/person unless you have a pass. So your real total may be a bit higher depending on your situation.
Here’s the value math I like to use:
- If you drive yourself, you’d still need to find the route, have a vehicle capable of these roads, and handle navigation and parking while also managing safety.
- With this tour, you pay for the guide to do the hard part—driving the switchbacks, choosing the best viewpoints, and keeping the group moving at a pace that fits a half-day.
You’re also not spending all day. The 4-hour format is ideal for a Canyonlands day when you still want to do other Moab sights.
One more timing tip: tours are often booked about 51 days in advance on average. That’s your hint that seats disappear. If Canyonlands is a priority, I’d book early rather than waiting for a perfect forecast.
Should you book the Moab Canyonlands 4WD half-day?
Book it if:
- you want Island in the Sky + White Rim Road access without driving yourself
- you care about rock art context, not just photos
- you like guides who explain geology and Pueblo history while you move between viewpoints
- you’re okay with a bumpy, rough-road ride for the payoff
Skip (or consider a gentler option) if:
- you’re uncomfortable with heights or tight, steep terrain
- you’re very sensitive to noise and vibration in vehicles
- you’re hoping for a calm, easy sightseeing day
If you want Canyonlands to feel alive and not just “another scenic stop,” this half-day 4WD format is a smart way to do it.
FAQ
How long is the Canyonlands half-day tour from Moab?
The tour is listed at about 4 hours.
Where does the tour start and end?
Meeting is at 321 N Main St, Moab, UT 84532, and the tour ends back at the meeting point.
Is pickup available?
Pickup is offered. You meet at 321 N Main St, and additional pickup locations may be available—confirm pickup timing 24 hours in advance.
Are Canyonlands National Park entrance fees included?
No. National Park Entrance Fees are not included and are listed as about $15 per person unless you have a parks pass.
What stops are included during the tour?
The tour includes rock art sites along Scenic Byway 279, Canyonlands Island in the Sky, Gooseneck Overlook, Musselman Arch (with a short stroll), and riding the Shafer Trail switchbacks.
What hike is involved at Musselman Arch?
You take a short walk of about 300 feet to see Musselman Arch, with roughly 30 minutes scheduled for this portion.
What should I bring, and is food included?
Bring a camera, a water bottle, and sun protection. Ice water is included, but soft drinks and food are not included.