REVIEW · ADELAIDE
Adelaide: McLaren Vale & The Cube Day Trip
Book on GetYourGuide →Operated by Adelaide Sightseeing · Bookable on GetYourGuide
McLaren Vale in one day sounds ambitious, until you see how this route stacks the best stops with real time to taste. I like the d’Arenberg Cube for its strange art-meets-wine setup, and I also love that your day includes a proper lunch pairing at Chalk Hill. The only real catch is that the tastings are tightly timed, so if you want to linger or compare lots of extra wines, you’ll feel the clock.
You start with a coach ride out of Adelaide, then hop winery to winery with a guide shaping the experience for you. In practice, that means less planning for you and more structured time tasting what each place is known for. One more consideration: lunch is a set Italian-style menu and tastings are the point—so come hungry, but don’t plan on ordering off a full menu.
Key highlights at a glance
- d’Arenberg Cube: five levels of art and design, plus a formal tasting on Level 4 with vineyard views
- Chalk Hill Wines lunch pairing: Italian shared lunch with wine pairing across four of their popular wines
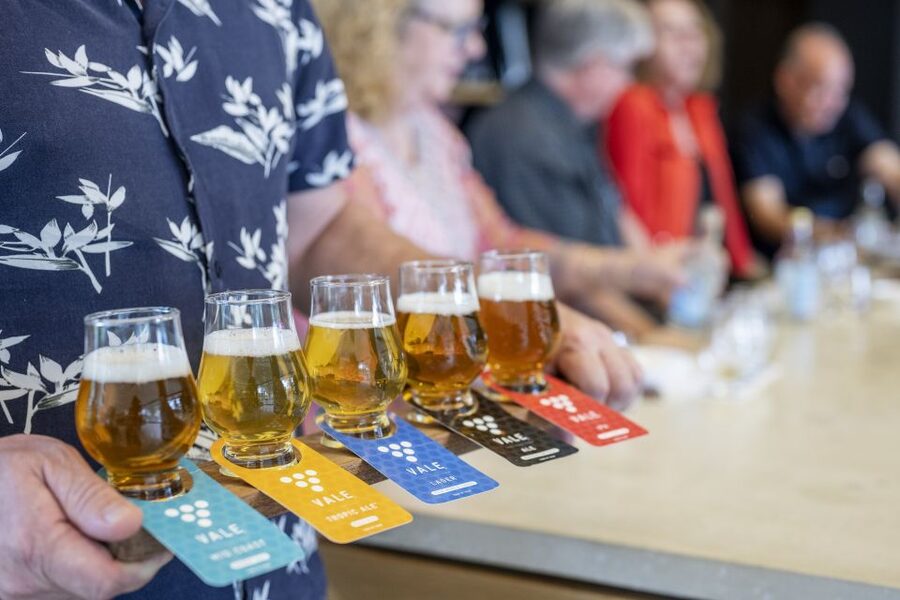
- Beresford Tasting Pavilion: pick from wine, craft beer, or spirit and gin tastings depending on your mood
- Wirra Wirra: tour of their historic ironstone cellars and a structured tasting under the gum trees
- Time-budgeted stops: enough to taste and learn, but not enough to fully roam each property
In This Review
- Setting Off From Adelaide Central Bus Station (85–107 Franklin St)
- The Coastal Drive to McLaren Vale: When the Views Keep You Going
- d’Arenberg Cube: The Wine Stop That’s Also an Art Trip
- Chalk Hill Wines: Italian Lunch Plus a Four-Wine Pairing
- Beresford Wines Tasting Pavilion: Choose Wine, Beer, or Gin
- Wirra Wirra Vineyards: Ironstone Cellars and a Structured Tasting
- Tour Value: Why $159 Can Make Sense for an 8-Hour Wine Day
- How the Guide Experience Affects Your Day (Dave, Phil, Athol, Roger, Michael, Jeff, Chris)
- Getting the Most Out of This Day (What to Bring, What to Wear)
- Who This Trip Is Best For (and Who Might Want a Different Style)
- Should You Book This Adelaide: McLaren Vale & The Cube Day Trip?
- FAQ
- What is the duration of the Adelaide: McLaren Vale & The Cube day trip?
- Where do I meet the group in Adelaide?
- Is lunch included?
- What does the d’Arenberg Cube stop include?
- How do tastings work at Beresford Wines?
- What should I bring or wear?
- Who is this tour not suitable for?
Setting Off From Adelaide Central Bus Station (85–107 Franklin St)
This tour runs from a practical meeting spot: you meet the driver inside Adelaide Central Bus Station, by the bus bays. From there, the day is straightforward—coach ride out, planned stops, then you’re back at the same place.
What makes the start work is that you don’t have to think about transport once you’re on board. The itinerary is built around guided time at each venue, plus morning tea and a dedicated break in McLaren Vale for coffee, shopping, and a little breathing room.
One smart detail for your comfort: you’ll be on a coach for about an hour each way, and that gives you time to settle in before wine country begins. If you’re sensitive to long days, plan for layers—Adelaide mornings can feel cooler than you expect.
The Coastal Drive to McLaren Vale: When the Views Keep You Going
Heading out from Adelaide along the metropolitan coastline adds a nice “warm-up” before the tasting starts. It’s not just scenic—it’s a mental transition from city mode to wine-country mode.
At McLaren Vale, you get a short break (about 30 minutes) with time for shopping and a coffee/tea stop. This is ideal if you want to grab snacks, souvenirs, or something casual before you move into the more formal winery schedule.
If you’re the type who likes to wander, keep it simple here. That break is short on purpose, because the rest of the day is locked to guided experiences.
You can also read our reviews of more tours and experiences in Adelaide.


d’Arenberg Cube: The Wine Stop That’s Also an Art Trip
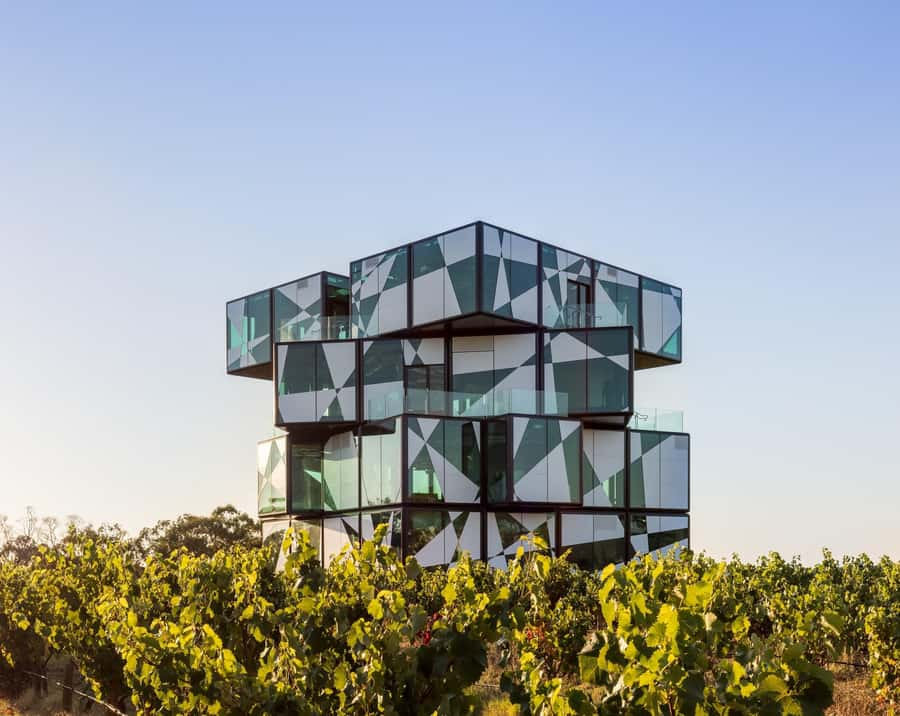
The d’Arenberg Cube is the headline move, and it earns the attention. It’s a five-level structure designed to feel like a giant Rubik’s Cube—part architecture, part playground for your senses. You’ll also pass through the Alternate Realities Museum and art installations, which makes the tasting portion feel less like a routine and more like a curated experience.
You’ll get a guided tour and then a formal tasting on Level 4. That’s the key combination: the place teaches you how to look (and how to taste) while also giving you panoramic views of the vineyards. If you’re the kind of wine lover who enjoys the story behind what you’re drinking, this is where the day starts clicking.
Practical note: dress matters. Sleeveless shirts aren’t allowed, so bring something with sleeves—especially if you’re visiting during warm weather when you’d normally plan to wear a tank.
Also, the tour includes skip-the-line access via a separate entrance. That’s a real time-saver at popular attractions, and it helps you get to the good stuff without standing around.
Chalk Hill Wines: Italian Lunch Plus a Four-Wine Pairing
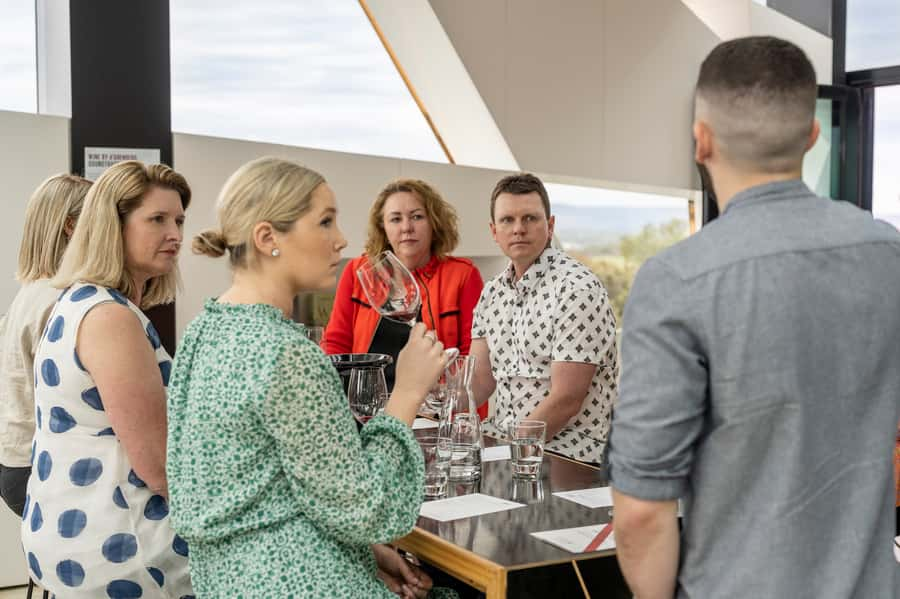
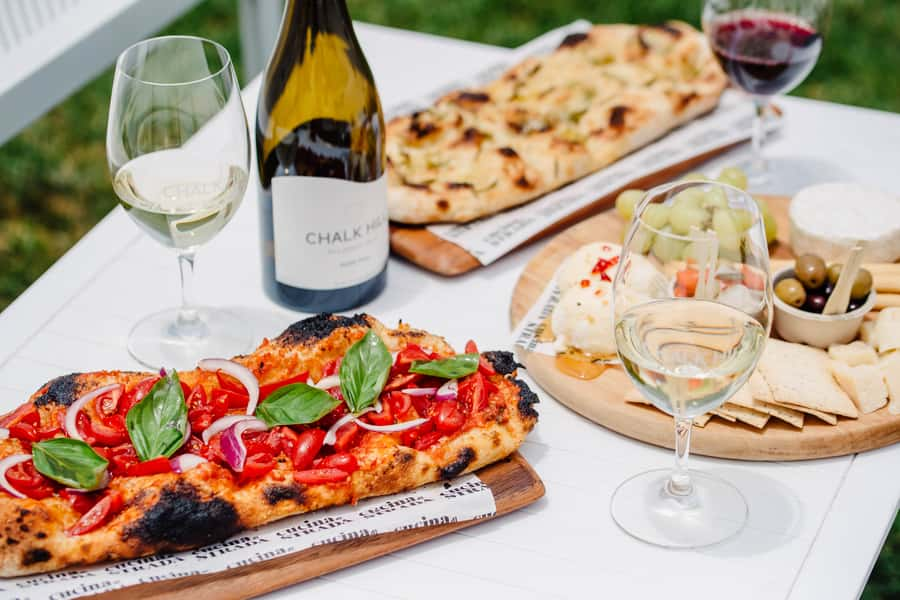
Next comes Chalk Hill Wines, a family-owned winery focused on small-batch, hand-crafted wines. What I like here is the balance between guided structure and “eat-and-enjoy” pacing. You’re not only tasting—you’re stopping for lunch with a built-in wine pairing experience.
Lunch is Italian-style and designed as a shared meal, prepared by Cucina Di Strada. Then you pair it with four of Chalk Hill’s most popular wines. This matters because a pairing lunch helps you connect flavor to wine choices, not just collect tastes.
If you love food, this is the part of the day that feels like a break from the tasting rhythm. If you love wine, it helps you understand how different styles can work with a meal rather than being tasted in isolation.
Timing is about 75 minutes here, including lunch and the wine pairing. That’s enough to enjoy the meal without feeling like you’re trapped. Just know it’s not an open-ended dining experience—this is still a tour day, and the schedule moves on.
Beresford Wines Tasting Pavilion: Choose Wine, Beer, or Gin
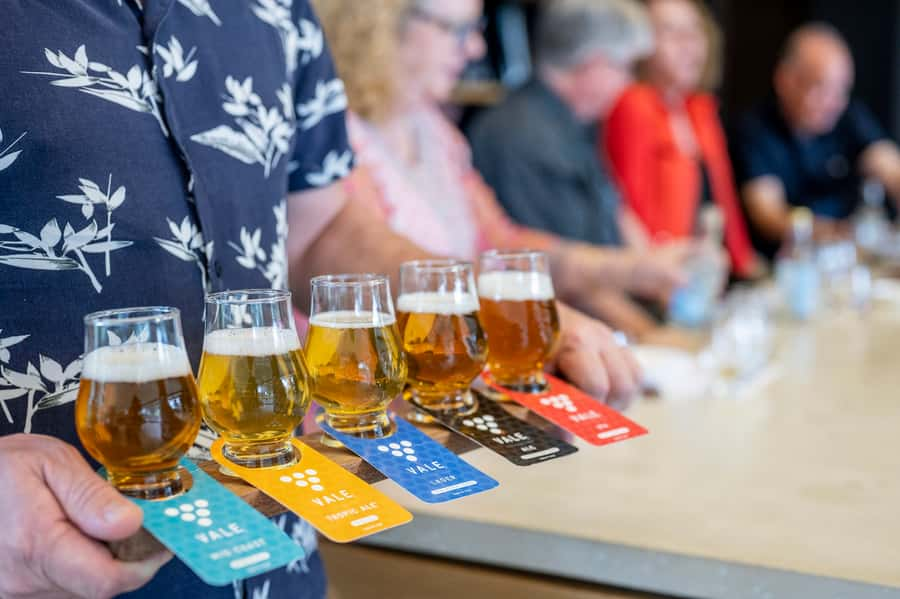
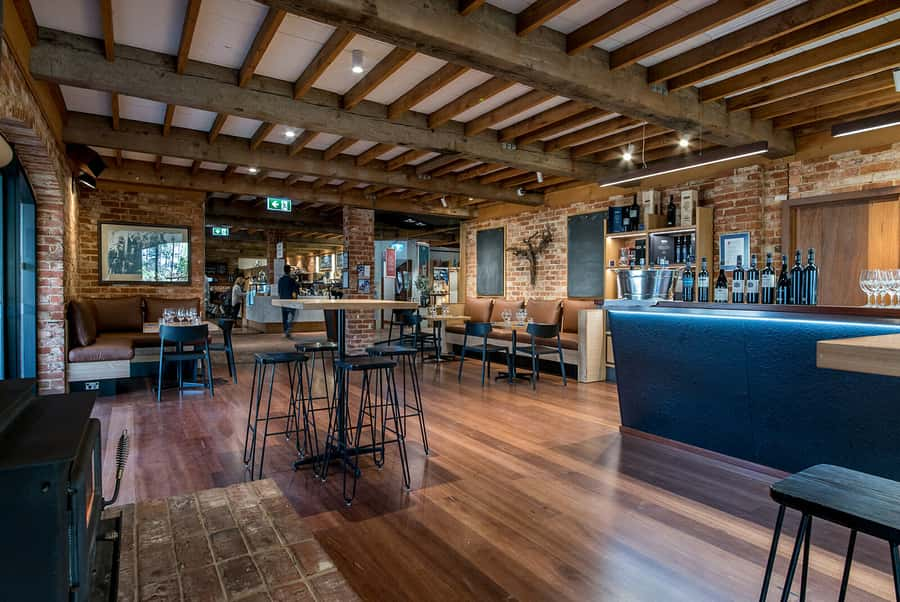
At Beresford Wines, the Tasting Pavilion lets you pick your tasting option based on what you feel like that day. You choose among three styles: wine, craft beer, or spirit and gin tastings.
I like this setup because it keeps you in control. If you’re a wine person, you can stay fully wine-focused. If you want a change of pace, the craft beer option gives you variety. And if your interest leans toward spirits, the gin/spirit tasting gives you a different side of South Australian drinks beyond grape wine.
This stop lasts about 45 minutes, which is short but efficient. The goal isn’t to sample everything on earth—it’s to give you a guided introduction to the flavor direction of each option.
One thing to remember: your mood choice is part of the experience. If you’re traveling with friends who love different drink styles, this is a rare moment where everyone can get something that matches their tastes without splitting the group.
Wirra Wirra Vineyards: Ironstone Cellars and a Structured Tasting
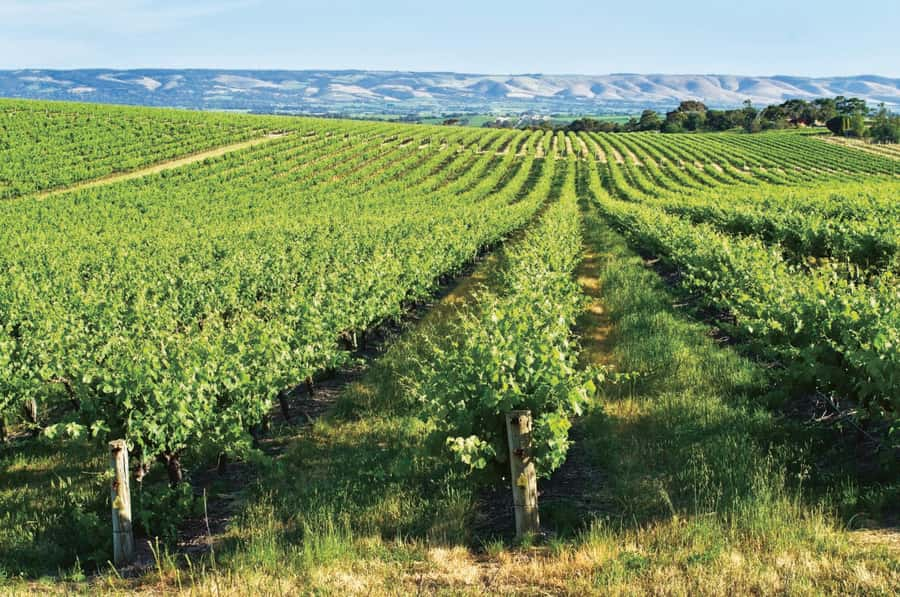
Your final major winery stop is Wirra Wirra, located among gum trees in historic ironstone cellars. This is one of those places that feels grounded in place—cooler cellars, a sense of older winemaking infrastructure, and a structured tasting format that helps you learn as you sip.
You’ll get a guided tour plus a tasting that’s organized and easy to follow. The tour focus is the cellars, which gives you a sense of how the winery supports aging and production. Then the tasting pulls you back into the glass with a more methodical flow than you’d get if you wandered in on your own.
I find this pairing of tour plus structured tasting especially valuable if you’re not a winemaker brain. You don’t need to know anything ahead of time—you just follow the guide’s pacing and you’ll come away with clearer impressions of what you liked and why.
This stop lasts about an hour. For many people, it hits the sweet spot: long enough to feel like a real visit, short enough that you still finish the day without rushing.
Tour Value: Why $159 Can Make Sense for an 8-Hour Wine Day
Price is always the question, so here’s how I’d judge the value. This costs $159 per person for an 8-hour day that includes roundtrip transportation, morning tea, multiple guided winery experiences, and lunch. You’re also getting tastings at several places, including the d’Arenberg Cube (tour plus formal tasting) and structured tastings at Beresford and Wirra Wirra.
If you tried to do this on your own, your biggest costs would be transport plus booking each venue time. The tour price bundles that work for you and keeps the day moving on schedule.
What you should watch for is not cost—it’s expectations. Some people want more time at each winery to buy bottles or do extra pours beyond the guided tastings. This tour is designed around variety and learning, not extended independent wine shopping at every stop.
Also, lunch is included, but it’s still a set menu paired with wines. If you want full menu freedom, plan to supplement with snacks in your short break time in McLaren Vale or after the tour.
How the Guide Experience Affects Your Day (Dave, Phil, Athol, Roger, Michael, Jeff, Chris)
One of the best parts of wine tours isn’t the wine—it’s how the guide turns tasting notes into something you remember. In past departures, drivers and guides have included names like Dave, Phil, Athol, Roger, Michael, Jeff, and Chris, and the common thread is that they bring local context and keep the day friendly and on track.
You’ll also notice the day has multiple moments where timing matters—getting you through structured tastings, keeping lunch smooth, and landing on time for the Cube and cellar tour. That’s where a good guide earns their keep.
So if you’re hoping for a day that feels guided rather than just scheduled, this is the right format. The tour guide is English-speaking, and the pace is designed so you’re not left wondering what you’re supposed to do next.
Getting the Most Out of This Day (What to Bring, What to Wear)
This tour is simple, but it helps to show up prepared.
Bring:
- Passport or ID card
- Cash
Wear:
- Something with sleeves (sleeveless shirts aren’t allowed)
Also, plan for the fact that you’ll taste multiple times throughout the day. Pace yourself, sip water, and don’t treat every tasting like a shootout. The tour includes enough tastings that it’s easy to overdo it if you ignore the schedule.
Finally, remember the tour includes food and drinks only where specified. You’ll want to budget your extra spending accordingly—especially for any additional purchases at wineries or snacks during your brief McLaren Vale break.
Who This Trip Is Best For (and Who Might Want a Different Style)
This tour is a great match if you want a “greatest hits” day in McLaren Vale with guided tastings and lunch included. It’s especially strong for:
- First-time visitors to Adelaide looking for a low-stress wine day
- People who like variety (food pairing, Cube art/design, wine plus other drinks options)
- Travelers who prefer structure over trying to coordinate multiple wineries yourself
It may be less ideal if you’re the type who wants long sits, slow roaming, and heavy bottle shopping at one winery. The schedule moves, and while that’s part of the value, it limits how much you can independently explore beyond the guided stops.
Should You Book This Adelaide: McLaren Vale & The Cube Day Trip?
I’d book it if you want a confident, guided day that hits multiple tastings, includes lunch pairing, and features the d’Arenberg Cube as more than just another winery stop. For $159, the blend of transport, guided access, and included tastings is a solid deal—especially if you’d otherwise struggle to coordinate timing and bookings.
Skip it if your top priority is maximum time at fewer wineries. This is built for variety and learning in a single 8-hour loop, not for long independent wandering.
If you want, tell me your travel month and whether you’re more into wine, beer, or gin/spirits—I can help you decide if this pace fits your style and what to focus on during each stop.
FAQ
What is the duration of the Adelaide: McLaren Vale & The Cube day trip?
The tour runs for 8 hours.
Where do I meet the group in Adelaide?
Your driver meets you inside Adelaide Central Bus Station by the entrance to the bus bays (near 85–107 Franklin St).
Is lunch included?
Yes. Lunch is included, and it includes an Italian-style shared meal with a wine-pairing experience.
What does the d’Arenberg Cube stop include?
You’ll get a guided tour and a formal wine tasting, plus time to experience the Cube’s art installations and museum area.
How do tastings work at Beresford Wines?
At the Beresford Wine Tasting Pavilion, you choose one of three tasting options: wine, craft beer, or spirit and gin tastings.
What should I bring or wear?
Bring your passport or ID card and cash. Sleeveless shirts are not allowed.
Who is this tour not suitable for?
The tour is not suitable for children under 18 years.