REVIEW · CHRISTCHURCH
Arthur’s Pass Day Tour From Christchurch via Castle Hill
Book on GetYourGuide →Operated by Cheeky Kea Tours · Bookable on GetYourGuide
A mountain road trip with big views. This tour threads the Great Alpine Highway to Castle Hill’s weird rock formations and into Arthur’s Pass National Park for a real chance at kea. I like how you get a mix of short viewpoints and longer stop time, not just bus-window scenery. The main catch: it’s an alpine day trip, so weather can change fast, and you’ll be out on the road for most of the day.
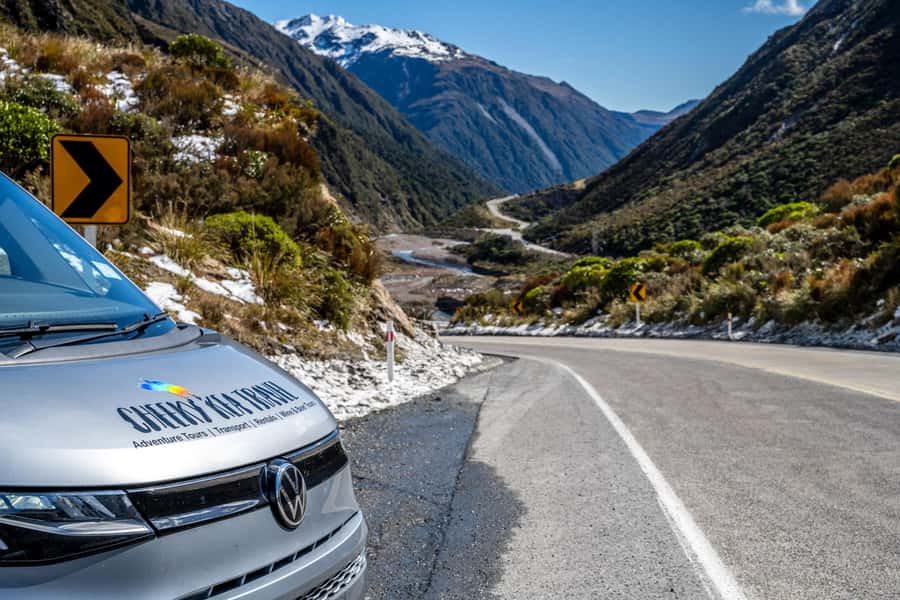
I especially like that it’s run in comfort—modern Mercedes Sprinter (or similar), with WiFi and USB charging—so the long drive doesn’t feel like a chore. You also get lunch, bottled water, and Kiwi snacks, which helps when you’re bouncing between quick photo stops.
One drawback to consider: the day is packed with stops. If you hate tight turnaround times, some locations (like the viaduct and certain lookouts) can feel brief—still worth it, just plan to move efficiently.
In This Review
- Key points you’ll care about
- From Christchurch to Arthur’s Pass: the drive that sets the tone
- Alpine weather reality: what to wear and how to avoid wasting your time
- Alpine Jet Thrills Canyon Safaris: a fun stop with a time trade-off
- Castle Hill Village and the rock formations: where the weird gets explained
- Lakes Pearson and Lyndon: quick photo stops that actually matter
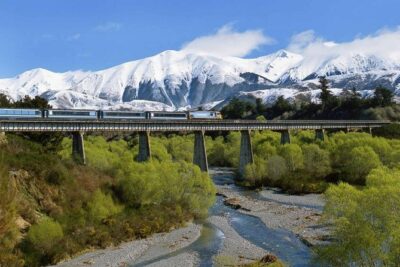
- Otira Viaduct and Porters Pass: rail-era engineering with mountain drama
- Arthur’s Pass National Park: beech forest, waterfalls, and the kea search
- Cave Stream Scenic Reserve and the Devil’s Punchbowl walk option
- Price and logistics: is $118 good value for 10 hours?
- Who this tour suits best (and who should reconsider)
- Should you book Cheeky Kea Tours’ Arthur’s Pass day tour from Christchurch?
- FAQ
- Is this tour suitable as a shore excursion?
- What’s included with the $118 price?
- How long is the tour from Christchurch?
- Will I get time to walk, or is it mostly drive-and-photo?
- Is there a chance to see kea?
- Is there anything I should not bring?
Key points you’ll care about
- Great Alpine Highway timing: long scenic stretches first, then more park-focused time later
- Castle Hill walking time: about an hour on the ground where the rock formations really make sense
- Otira Viaduct + Porters Pass: engineering viewpoints that are quick but powerful for photos
- Kea spotting is a real goal: the park effort is built around finding the world’s only alpine parrot
- Alpine Jet Thrills canyon stop: optional add-on time that can either be a highlight or feel long
- Lunch, water, snacks included: value matters on a 10-hour loop day
From Christchurch to Arthur’s Pass: the drive that sets the tone
This is a proper road trip day. You start from Christchurch in the morning and head out across the Canterbury plains before the terrain starts to tilt into braided river country and then the Southern Alps. The Great Alpine Highway is the backbone of the day: you’re not just traveling to the destination, you’re being shown how the region changes—flat-ish plains to wild river braids to steep valley walls.
You’ll also get guided commentary as you go, which helps the scenery click. Arthur’s Pass isn’t random mountain scenery. The route between east and west coasts (Kā Tiritiri o te Moana) was originally used by iwi for trade, including pounamu (greenstone), and later became known through surveying work tied to Arthur Dudley Dobson. Knowing that context turns the pass from scenery into a place with meaning.
The best part for me is the pacing: after pickup, there’s time to get moving, then the day builds to deeper looks at Castle Hill and Arthur’s Pass National Park.
You can also read our reviews of more tours and experiences in Christchurch.
Alpine weather reality: what to wear and how to avoid wasting your time
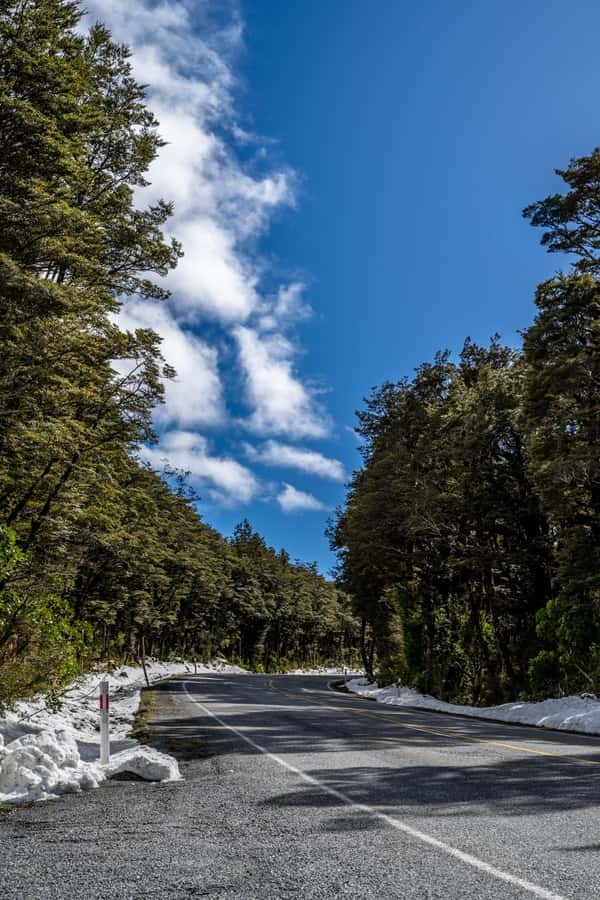
This trip is run rain or shine, so plan for mixed conditions. The simple advice: bring a jacket and be ready for wind, mist, and sudden cloud. You’ll be taking photos at several short stops, and when the weather flips, you’ll want to be able to move quickly, warm up fast, and still get the shot.
Here’s how I’d do it so you don’t feel rushed:
- Keep your jacket in easy reach, not buried at the bottom of your bag.
- Have your camera/phone charged early. USB charging is available on the van, which is handy on a full day.
- Treat the early photo stops as setup. The later park time is where you’ll likely spend more energy.
If fog or rain rolls in, the good news is that the highlights still work. Waterfalls and beech forest don’t stop existing because it’s cloudy. You just trade “clear long-distance views” for mood and texture.
Alpine Jet Thrills Canyon Safaris: a fun stop with a time trade-off
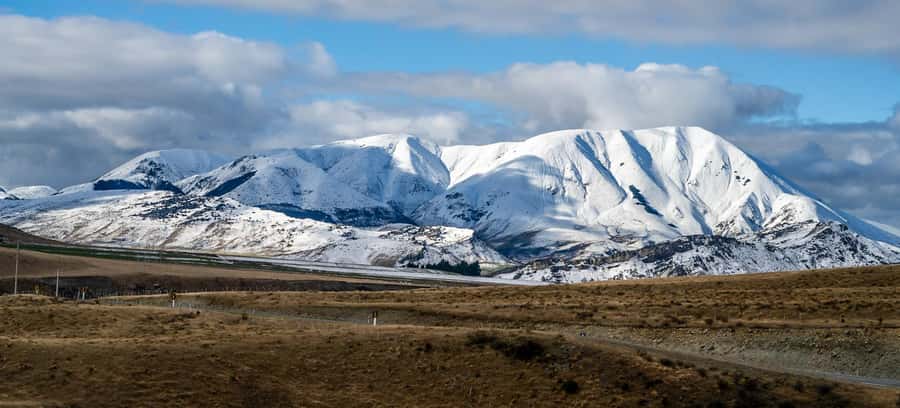
Before you settle into Arthur’s Pass proper, there’s a stop at Alpine Jet Thrills with break time and sightseeing, plus free time. This is the point where you’ll see the attraction more clearly—many people add a jet boat-style experience if it’s of interest.
I like that the tour gives you the option to choose your own energy here. If you want engine noise, spray, and fast canyon views, this is where you plug in. If you’d rather save your legs and daylight for walks later, be aware that this can feel like extra time away from the main scenery.
A practical tip: decide early in the day what kind of traveler you are. If you’re all-in on water-adventure thrills, you’ll probably feel this stop was worth it. If you’re more into geology and quiet trails, set expectations that this segment can be the most “detour-like” part of the schedule.
Castle Hill Village and the rock formations: where the weird gets explained
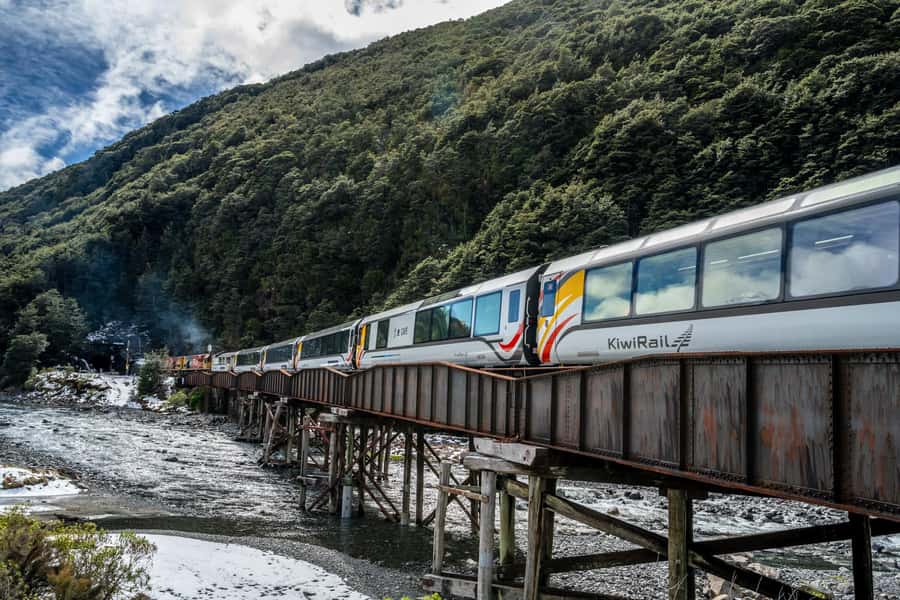
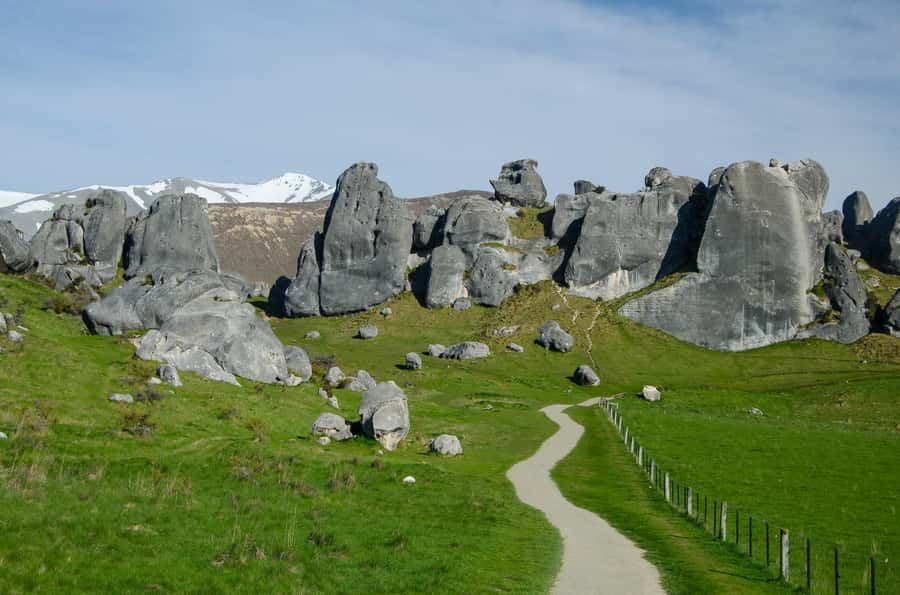
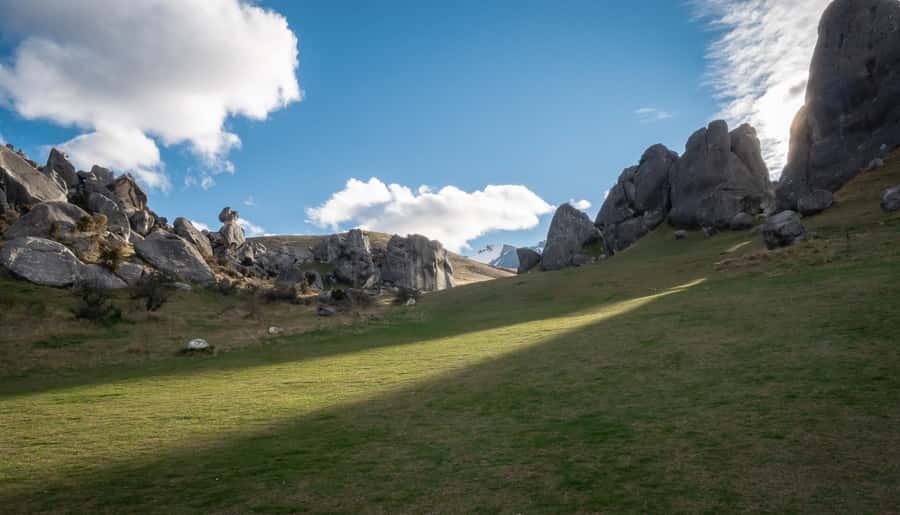
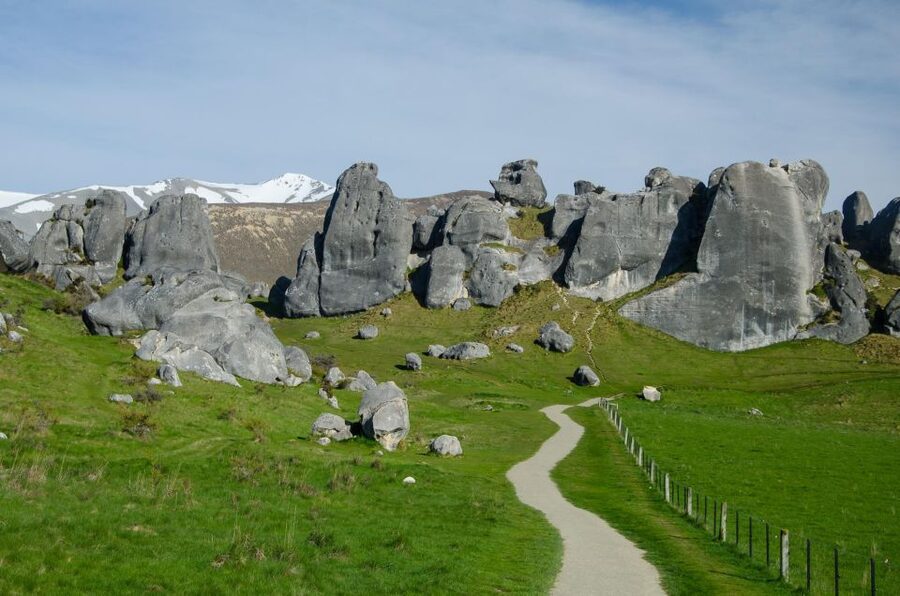
Then comes Castle Hill. This is one of those places where the landscape looks unreal until you see it at ground level. The rock country here is famous for its geological “puzzle pieces,” and the tour gives you real time to walk and explore—about an hour—rather than just posing for a photo and leaving.
What I love about this stop is how it teaches you to look:
- From a viewpoint, Castle Hill can look like random rock.
- On the ground, you start noticing how the formations relate to the wider valley and drainage patterns.
You’ll also get a break and free time in Castle Hill Village, which is useful if you want to stretch, reset, or grab a quick snack without feeling like you’re racing the clock.
Watch-outs (minor, but real): wear shoes that handle uneven ground and gravel. It’s not a long hike, but it’s not a museum floor either. And if it’s wet, take your time on rock edges.
Lakes Pearson and Lyndon: quick photo stops that actually matter
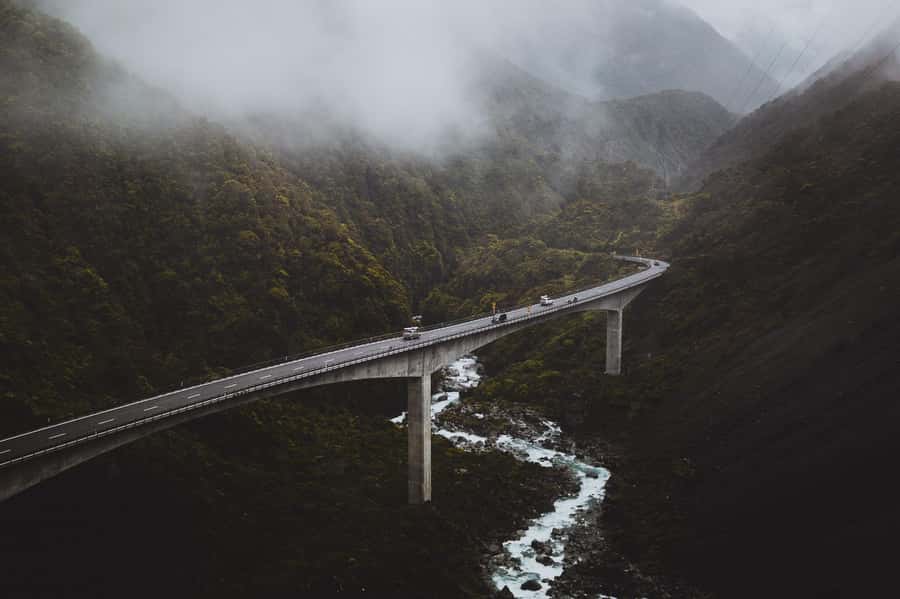
The tour schedules a stop at the Lake Lyndon area, with photo opportunities tied to both Lakes Pearson and Lyndon. These are the kinds of alpine-lake views that can look “pretty” from a distance, but the color and texture are what make them work in photos.
Since the stop window is short, your goal is simple: get your camera ready and choose your angle fast. Don’t overthink it. If the wind is up, put on your jacket and find one solid composition rather than chasing ten.
I also like this segment because it offers a change of pace. After Castle Hill’s rock maze, these lakes reset your eyes. Then you shift again toward pass-country viewpoints and engineering.
Otira Viaduct and Porters Pass: rail-era engineering with mountain drama
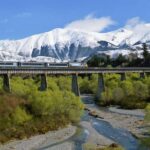
You’ll get a lookout stop at the Otira Viaduct, and later a quick photo stop at Porters Pass. These are short stops, but they’re the kind of short that pays off: the structures and mountain walls frame each other, and photos end up looking like postcards without needing a drone.
The Otira Viaduct viewpoint matters because it’s a reminder that getting through the pass wasn’t just about building roads. The region’s steep, unstable terrain demanded serious engineering. Standing there (even briefly) you start understanding why the route became so important.
Porters Pass is the same idea, just in pass form: a viewpoint that gives you a sense of scale. The mountains feel closer, and the road feels more serious.
Time management tip: if you’re traveling with a group, keep moving as soon as you stop. The best photos usually come right away—before the clouds shift and before everyone scrambles at once.
Arthur’s Pass National Park: beech forest, waterfalls, and the kea search
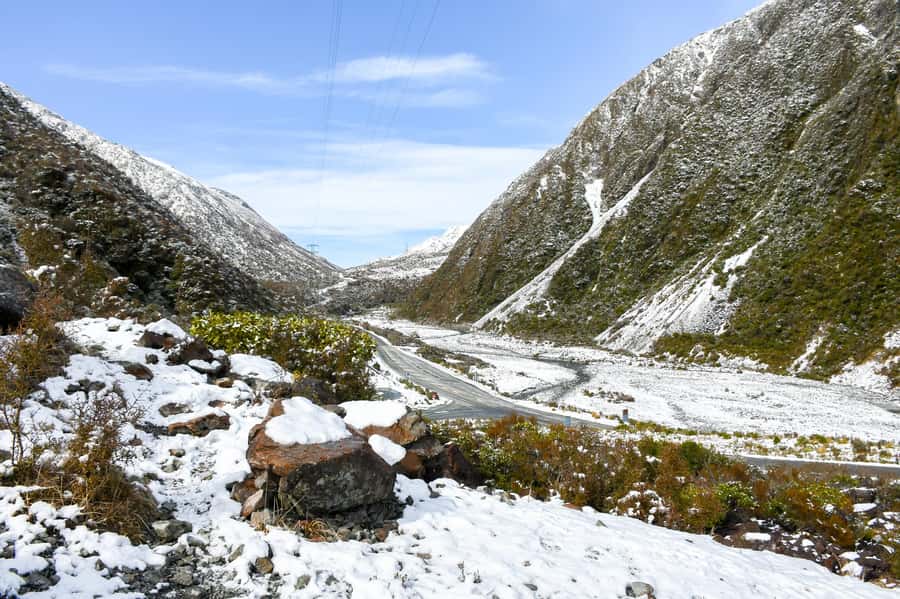
Arthur’s Pass National Park is the centerpiece. You’ll have break time, photo time, and then roughly 1.5 hours of sightseeing and walking time in the national park area. This is where the tour shifts from “drive-and-stop” into “experience the place.”
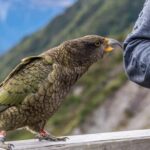
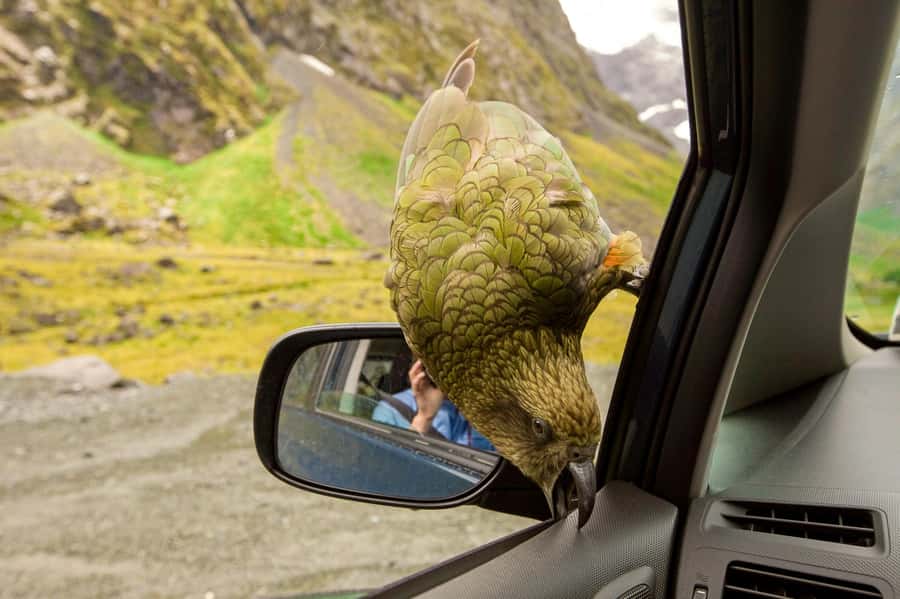
I like the fact that the day doesn’t just point at scenery. It’s guided by the park’s character: dramatic terrain, powerful waterfalls, and native beech forest. And most importantly, the kea search isn’t treated like a lottery ticket. The tour actively sets you up for that chance by building time and attention around the park.
Here’s the mindset I recommend: don’t only look at the mountains. Look at the edges—where the terrain breaks, where movement catches your eye, and where kea can show up in the wild. If the weather is rough, your odds might feel lower, but your attention is exactly what increases your chances.
Also, if you’re tempted by longer hikes, keep your timing disciplined. The tour schedule is structured. If you lose track of time, you’ll feel it later in the day.
Cave Stream Scenic Reserve and the Devil’s Punchbowl walk option
Later you’ll stop at Cave Stream Scenic Reserve for a photo stop. This is one of those places where you can get a lot of payoff even with short time, because the area is known for scenic value and waterfall potential.
A common add-on you may be able to do from this area is a walk to Devil’s Punchbowl Waterfall. In practice, it’s not a casual stroll—one traveler noted the climb involves 388 steps. That’s the kind of detail you should take seriously when you’re deciding whether to go. If you love waterfalls and don’t mind steps, it’s a memorable choice. If you’re short on energy or you don’t enjoy climbing, you can still enjoy the area without forcing the full hike.
My practical advice: if you’re going after the waterfall walk, go early in the stop window and pace yourself. Rain can make trails slick, and with a full schedule you don’t want to rush your footing.
Price and logistics: is $118 good value for 10 hours?
At $118 per person for a 10-hour day, you’re paying for three things at once:
- Guided transport with commentary over a long scenic route
- Multiple timed stops that are hard to replicate efficiently on your own
- Included food and small comforts (lunch, bottled water, Kiwi snacks, plus WiFi and USB charging)
If you tried to DIY this with a rental car, you’d still spend time driving and you’d still need to coordinate stops—plus you’d have to decide where to focus for walks versus photos. The tour makes those choices for you. And because it’s a small group in a modern van, the day feels less chaotic than doing multiple transit hops.
Comfort is part of the value. In winter or shoulder months, or any day when conditions change quickly, a warm van plus charging ports matters more than you think.
One thing to remember: the day includes early pickups from many Christchurch locations. Plan to be ready at your stop and don’t aim to be late. This is the kind of day where being rushed at pickup can shake your whole schedule.
Who this tour suits best (and who should reconsider)
This is a good match if you want:
- Big-window scenery plus a few grounded walks
- A guided day that helps you understand what you’re seeing
- A chance to see kea without planning your own search
- Included lunch and snacks so you’re not constantly paying for food
It might be less ideal if you:
- Want lots of long hikes (this is mostly short-to-medium time at each location)
- Hate time-boxed stops and quick transitions
- Are traveling as a shore-excursion visitor (this tour notes it’s not suitable as a shore excursion)
- Want to bring a drone (drones aren’t allowed)
If you’re the “I just want one or two stops and then hours to wander” traveler, you may feel the schedule is too structured. If you’re more the “show me the best of the pass in one day” traveler, you’ll probably love the way it’s assembled.
Should you book Cheeky Kea Tours’ Arthur’s Pass day tour from Christchurch?
Yes—if you want a guided, efficient day that mixes geology, alpine views, and national-park walking without having to drive yourself. I think it’s especially strong for first-timers because it hits the region’s major “why people come” points: Castle Hill, the Otira Viaduct area, Arthur’s Pass National Park, and scenic stops like Cave Stream.
Two things to decide before you go:
- Do you want the Alpine Jet Thrills portion to be a highlight? If yes, lean into it early. If no, accept that it’s the one part that can feel like a time trade-off.
- Do you want the waterfall walk possibility? If your legs are good and you like steps, Devil’s Punchbowl can be the kind of payoff you remember.
If the forecast looks messy, don’t cancel your plans automatically. Alpine weather can make the day feel different rather than ruined. Bring your jacket, move quickly at the photo stops, and spend your walking time wisely.
FAQ
Is this tour suitable as a shore excursion?
No. This tour is not suitable as a shore excursion.
What’s included with the $118 price?
Lunch, bottled water, Kiwi snacks, and a guided day with stops for sightseeing and photos. You also get WiFi and USB charging on the vehicle.
How long is the tour from Christchurch?
The duration is listed as 10 hours.
Will I get time to walk, or is it mostly drive-and-photo?
You’ll have breaks and photo stops throughout the day, plus time for walking. Castle Hill includes about an hour to walk, and Arthur’s Pass National Park includes about 1.5 hours for sightseeing and walking.
Is there a chance to see kea?
Yes. The tour is designed with a chance to spot kea in the wild.
Is there anything I should not bring?
Drones are not allowed. You should also bring a jacket, since the tour runs rain or shine.